Authors: Ritik Mishra
Practice Bot Drivetrain
During some robot testing today out in the commons, the practice bot drivetrain became busted. One of the bolts on the pneumatic wheels came loose and got caught in the chain. This broke the chain masterlink and bent a plate that was a part of the pneumatic wheel.
From then on, testing time was over. We added loctite to everything on the practice bot drivetrain, including the 6 bolts on each drive wheel (total of 36 bolts using loctite), and the 5 bolts in the falcon holding the motor shaft to the spinning part (40 bolts total).
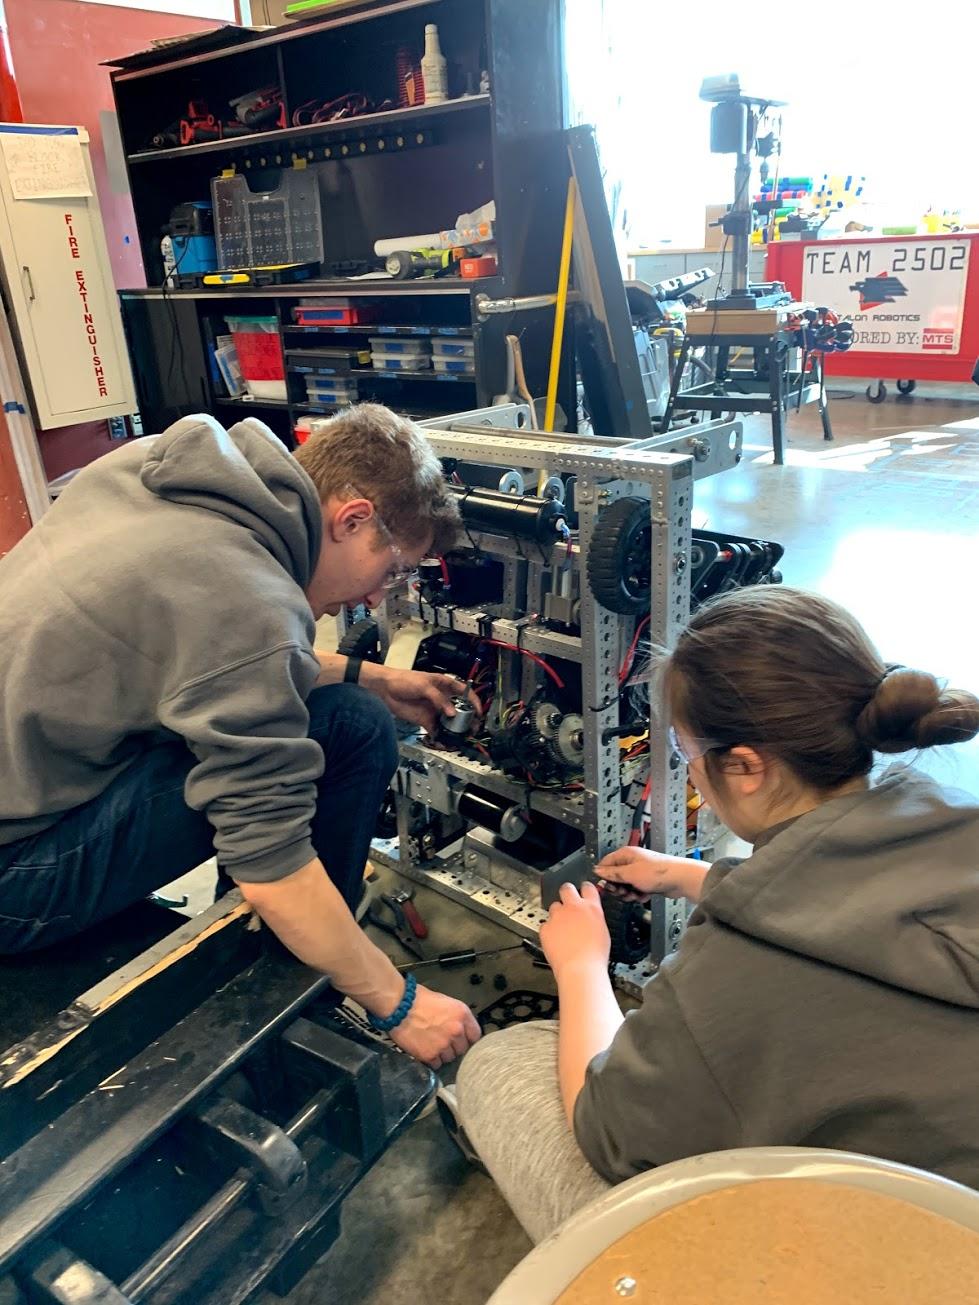
Above: A picture of some students applying Loctite to a practice bot Falcon (all of the comp bot ones were done several days ago).
Comp Bot Drivetrain
After the issue with the wheel bolt on the practice bot, we loctited all of the wheel bolts on the comp bot. We also installed chain between the wheels, and Anderson Powerpoles on the Falcons (somehow, this was overlooked).
Comp Bot Hopper
We installed most of the hopper onto the comp bot today. The only things that are left are to install the shafts (they are tapped + drilled), the belts (we are 3d printing big polycord pulleys for the bottom belt in the meantime), and the motors.
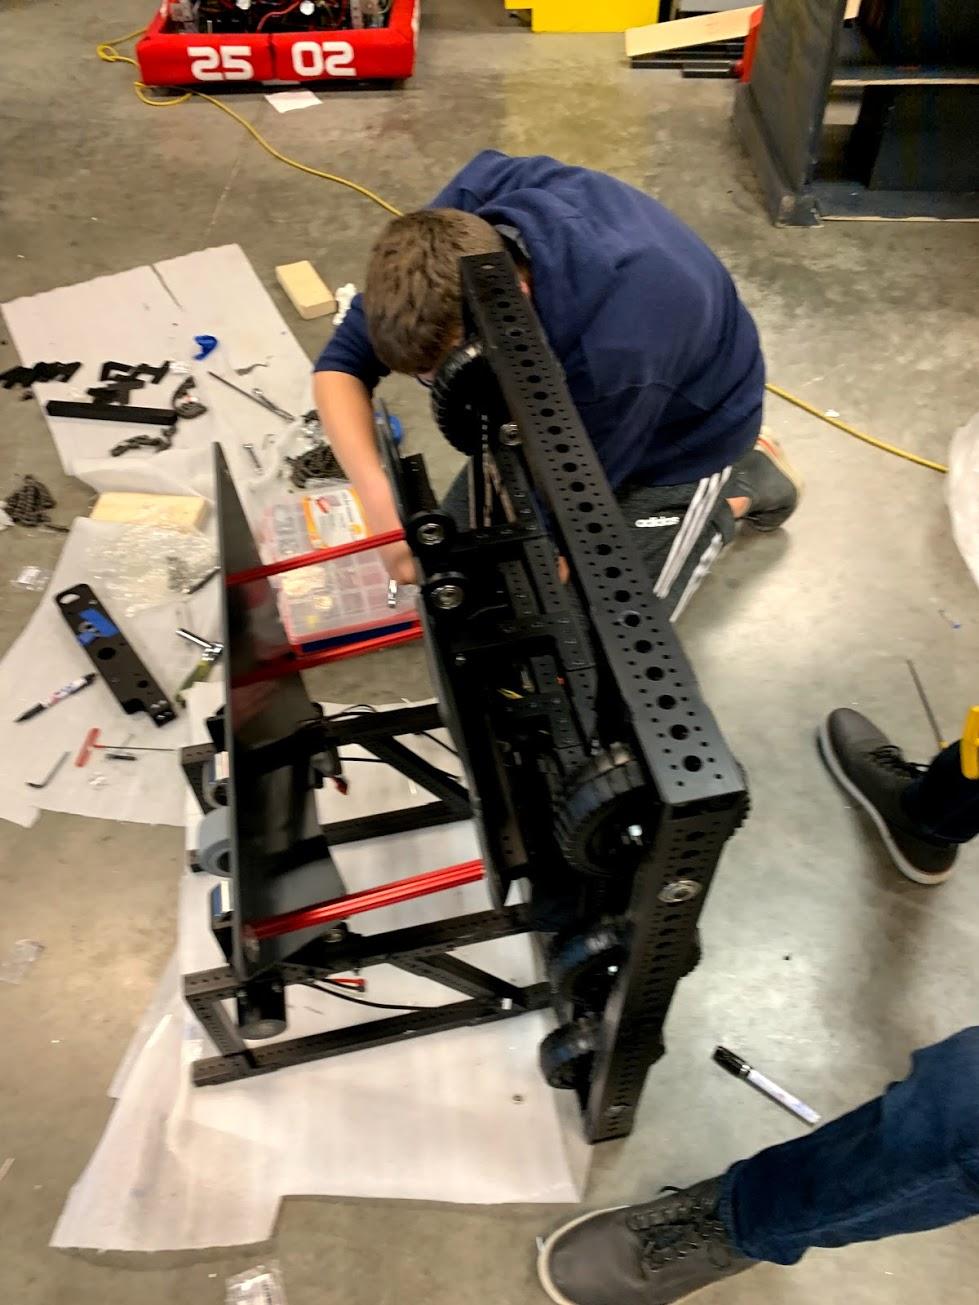
Above: A picture of the hopper installed onto the robot.
Electronics
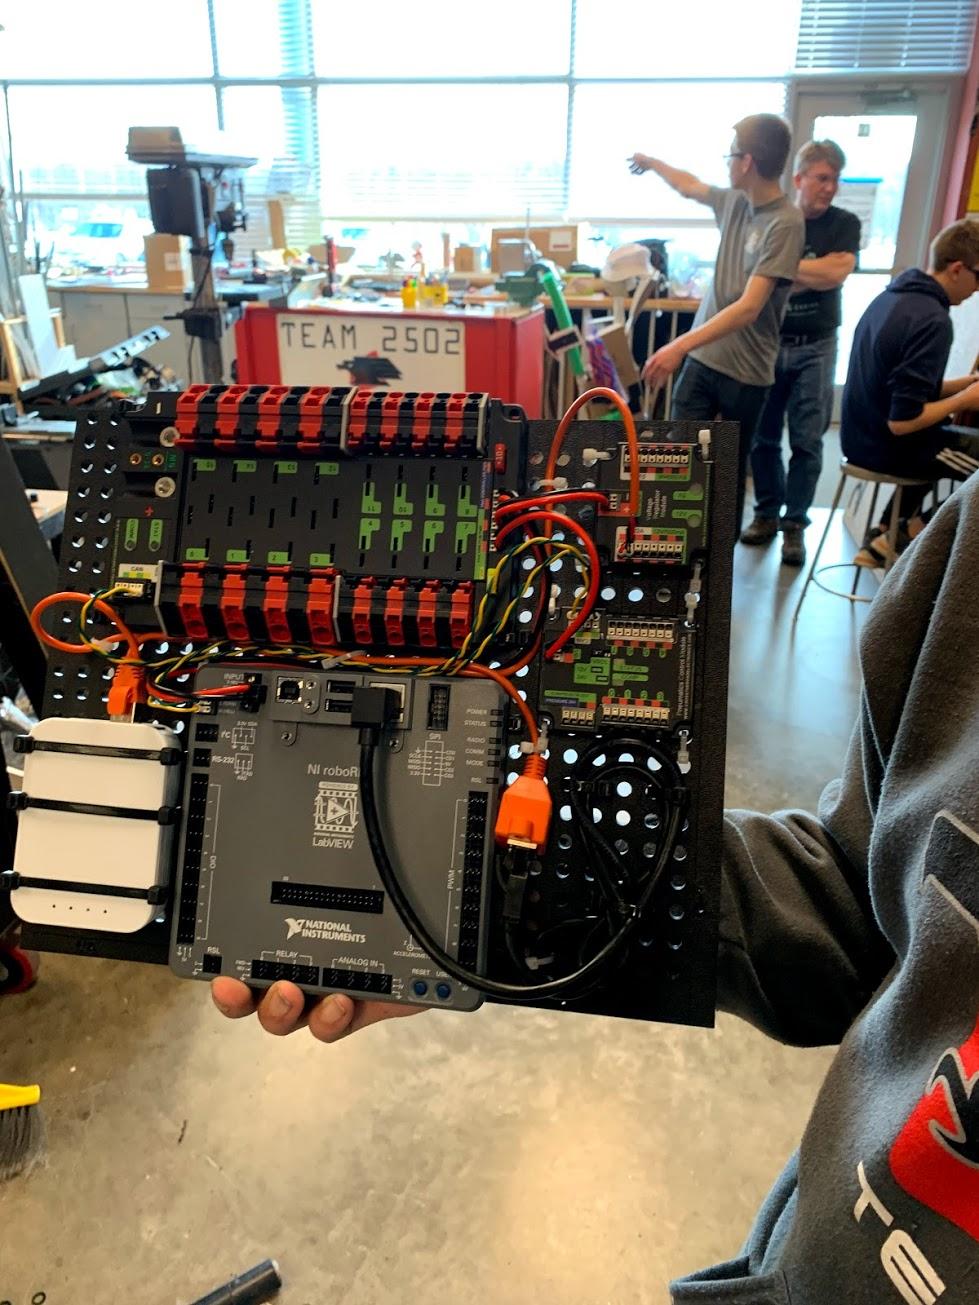
The plate part of the electronics plate was completed. All of the necessary holes were drilled, and all of the necessary electronic components were placed. We also started to work on the RSL mount.
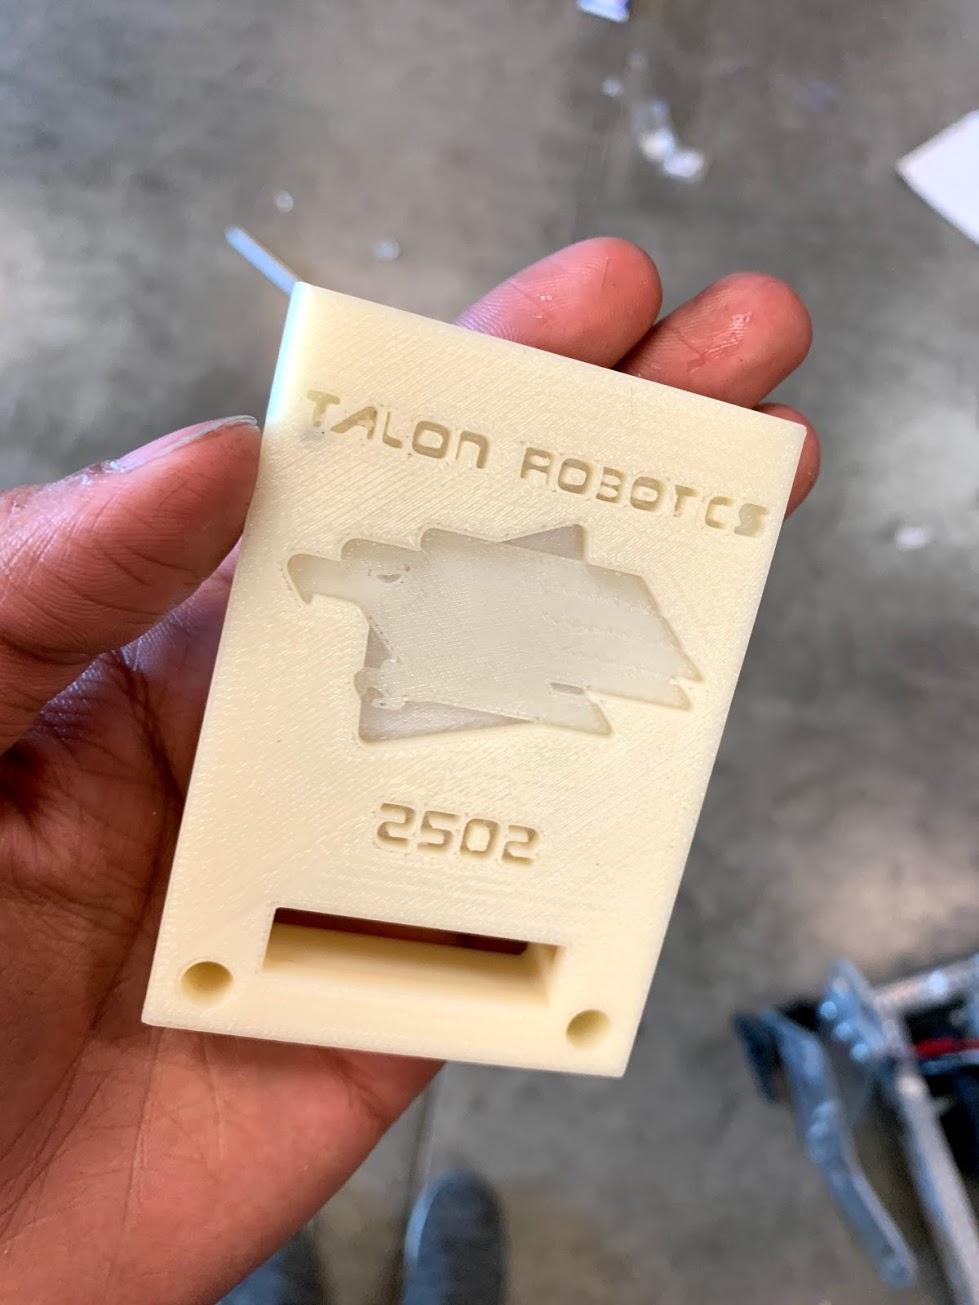
We also have a new NavX cover. It ia team branded!
Intake
Today, we made all of the intake rollers for the comp bot. For a short period of time, the practice bot intake was disassembled and the comp bot intake was assembled until it was realized that the drivers practice tomorrow would require the practice bot intaked. Then, this was reversed.
Sadly, we did not get a picture of the intake rollers. The comp bot rollers were assembled with care, and came out good. Additionally, to ensure that the hub and the roller stay together even if the shaft moves around, we threaded two opposing #10-32 bolts through the roller and hub assembly – for each hub assembly (2 per roller, 6 rollers). We did NOT drill a hole through the shaft; rather, the socket head cap screw (small grub screws suck) is just long enough that it will clamp onto the shaft like a set screw. This makes it possible to slide out the shaft and remove the roller (we made sure the hubs were properly aligned, allowing the shaft to slide out easily) without completely disassembling the intake.
Quote of the day: “Do a good job. Bad jobs are not allowed. Good jobs only” — Ritik Mishra, when he was encouraging team members working on comp bot intake rollers.
Below: Robot pictures

